We’ve installed thienmaonline.vn but now is time to get our router configured.Visit your router’s administration page.No matter what the address was before, thienmaonline.vn simplifies this by setting the administration address to be http://192.168.1.1/.At that page you should see a login page: (correct as of Barrier Breaker)
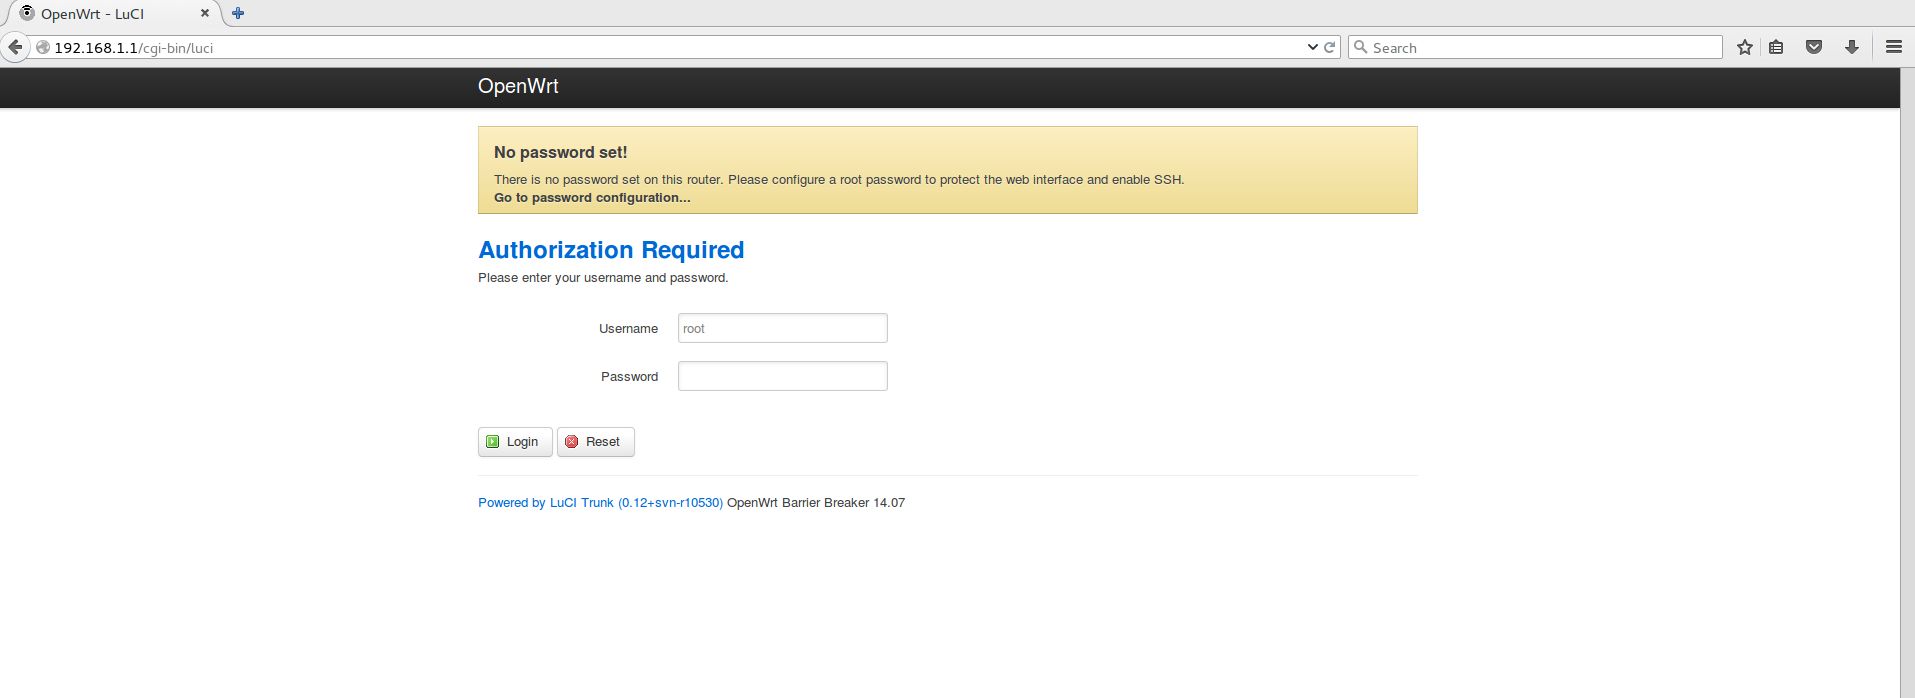
As you’ll see, there’s a notification that “root” user’s password is not set.root is the username of the main administrative user on thienmaonline.vn.We’ll need to set that after we login.Log in with the username of root and leave the password field empty.
Bạn đang xem: Openwrt là gì
Note: If you have installed a “tiny” build or a “snapshot” build, LuCI web interface will likely not be present and you will need to use ssh to log in as root
192.168.1.1 (telnet is no longer supported by thienmaonline.vn-project builds)
Note: If the configuration of your router prior to flashing was somewhat exotic (e.g. router previously at 192.168.17.1), your PC (or whatever) might struggle to reconnect.If in doubt, consider simply rebooting the PC, or any other way to reset the connection.
Status page
Once you’ve logged in, you’ll see the main status page.From here you can get a high-level view of your routers status.We’ll go through some of the information viewable on this page.
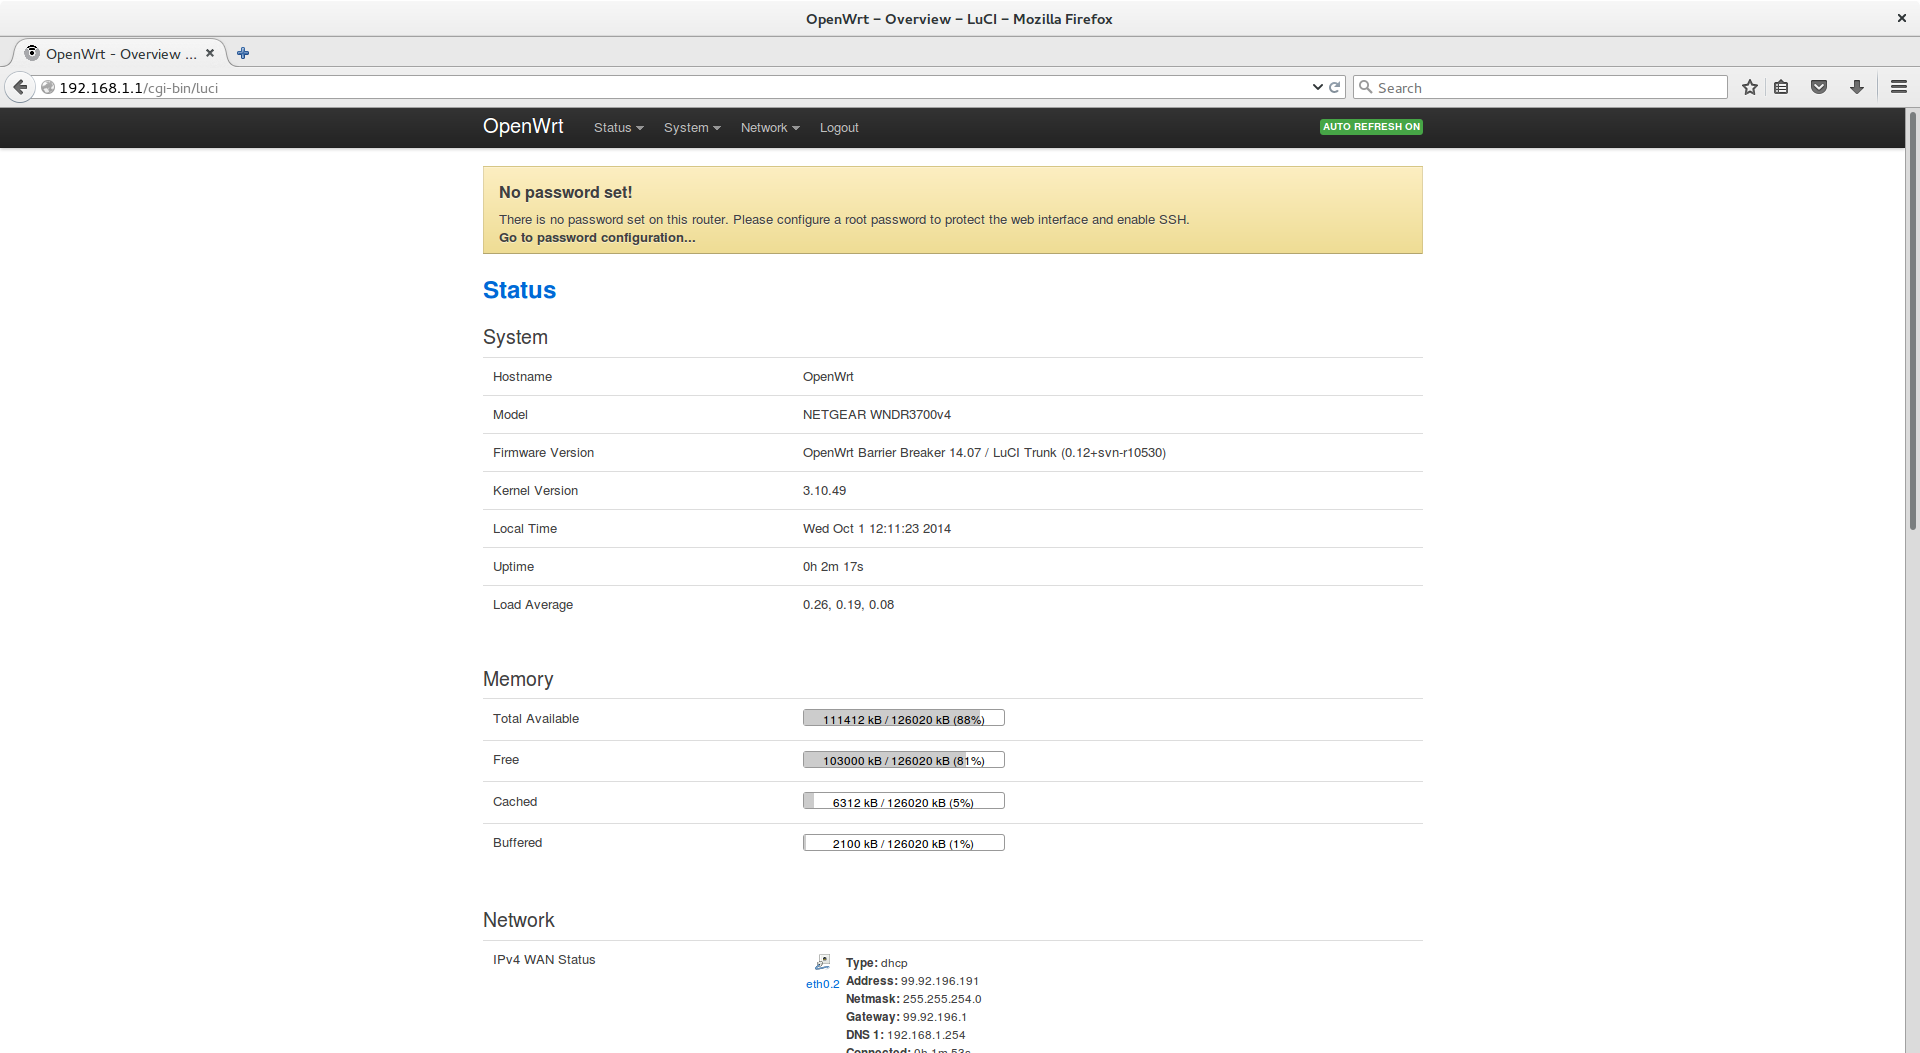
In the first screen shot, you can see some basic system information like the version of thienmaonline.vn and the web interface packages of thienmaonline.vn, which is named LuCI.Additionally, you can see the uptime for the router since last reboot, the current clock time on the router and how much of the router’s processor is used (“load”).Let’s scroll down a little.

In the second screenshot, you see the router’s memory usage.As services are started on the router, the “total available memory” will go down.In the case of the screenshot, there’s lot of memory still available.If the amount is very low, the router could slow down and behave erratically.In that case, one would need to stop and disable services on the router.That’s beyond the scope of this walkthrough but it’s important to know.
Next we’ll see the Network section.The Network section shows information the network interface of the router, particularly as it applies to IP addresses.Additionally, you’ll see the transmission speed of data going through those interfaces.At the end of the network section, you’ll see how many network connections are going through the router compared to the maximum supported by the router.
Xem thêm: Hủ Nữ Là Gì – đam Mỹ Là Gì
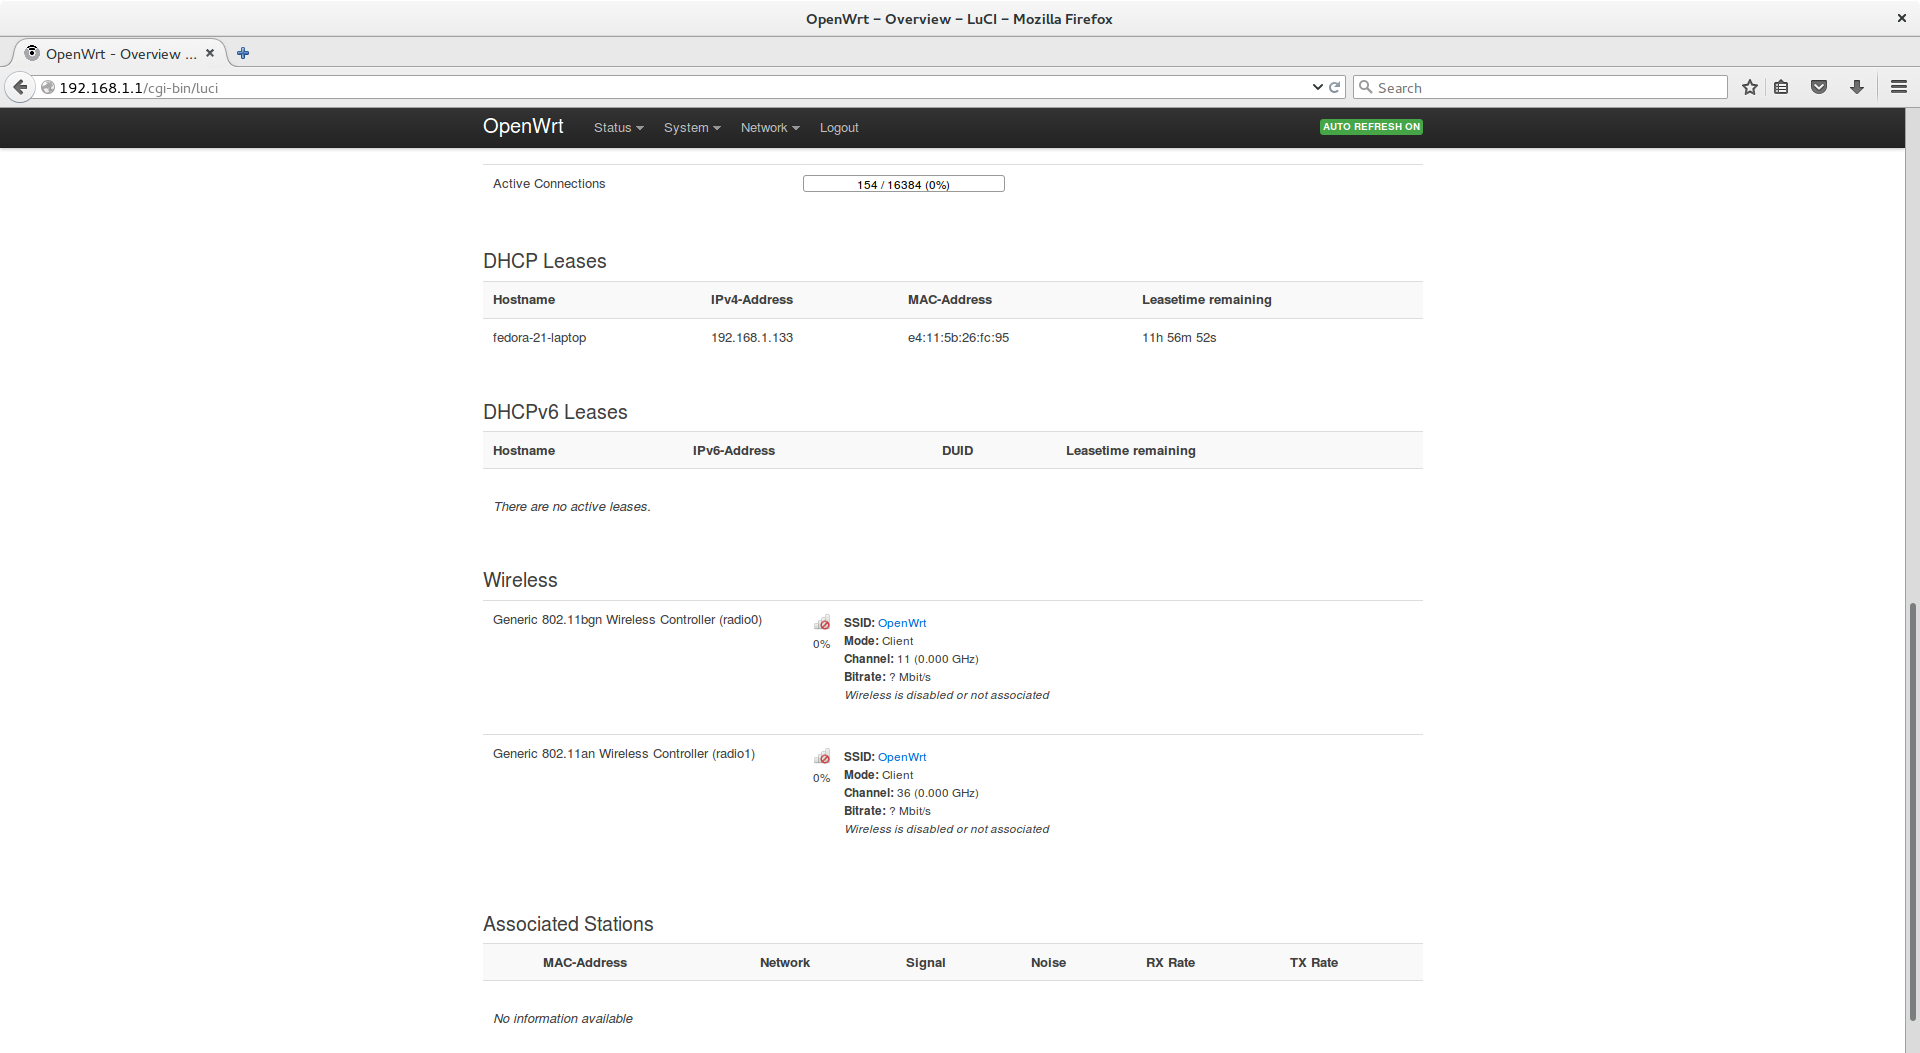
In this final screen shot, you’ll see the DHCP leases computers on the router.Without getting into details, DHCP leases represent temporary IP addresses that the router will give out to client computers.Lastly there is information about the wireless networks for your router.You may have a different number than in this screen shot depending on your router model but all of them will be disabled for initial security purposes.Don’t worry, we’ll turn them on in just little bit.
Now that we have a sense of the information on the status page, we need to fix that lack of a root password.We can do that but scrolling back up to the top of the page and clicking “Go to password configuration…” in the box titled “No password set!”
Before we actually do anything else, we need to set the root password.As we mentioned, root is the username of the administrative user in thienmaonline.vn.Since this is an extremely powerful account, we need to provide a strong password that you’ll remember.Once you have a new password, type it into the “password” field and then repeat it into the “confirmation” field.Make sure to remember this password; when you log into the router again, you’ll need this password.
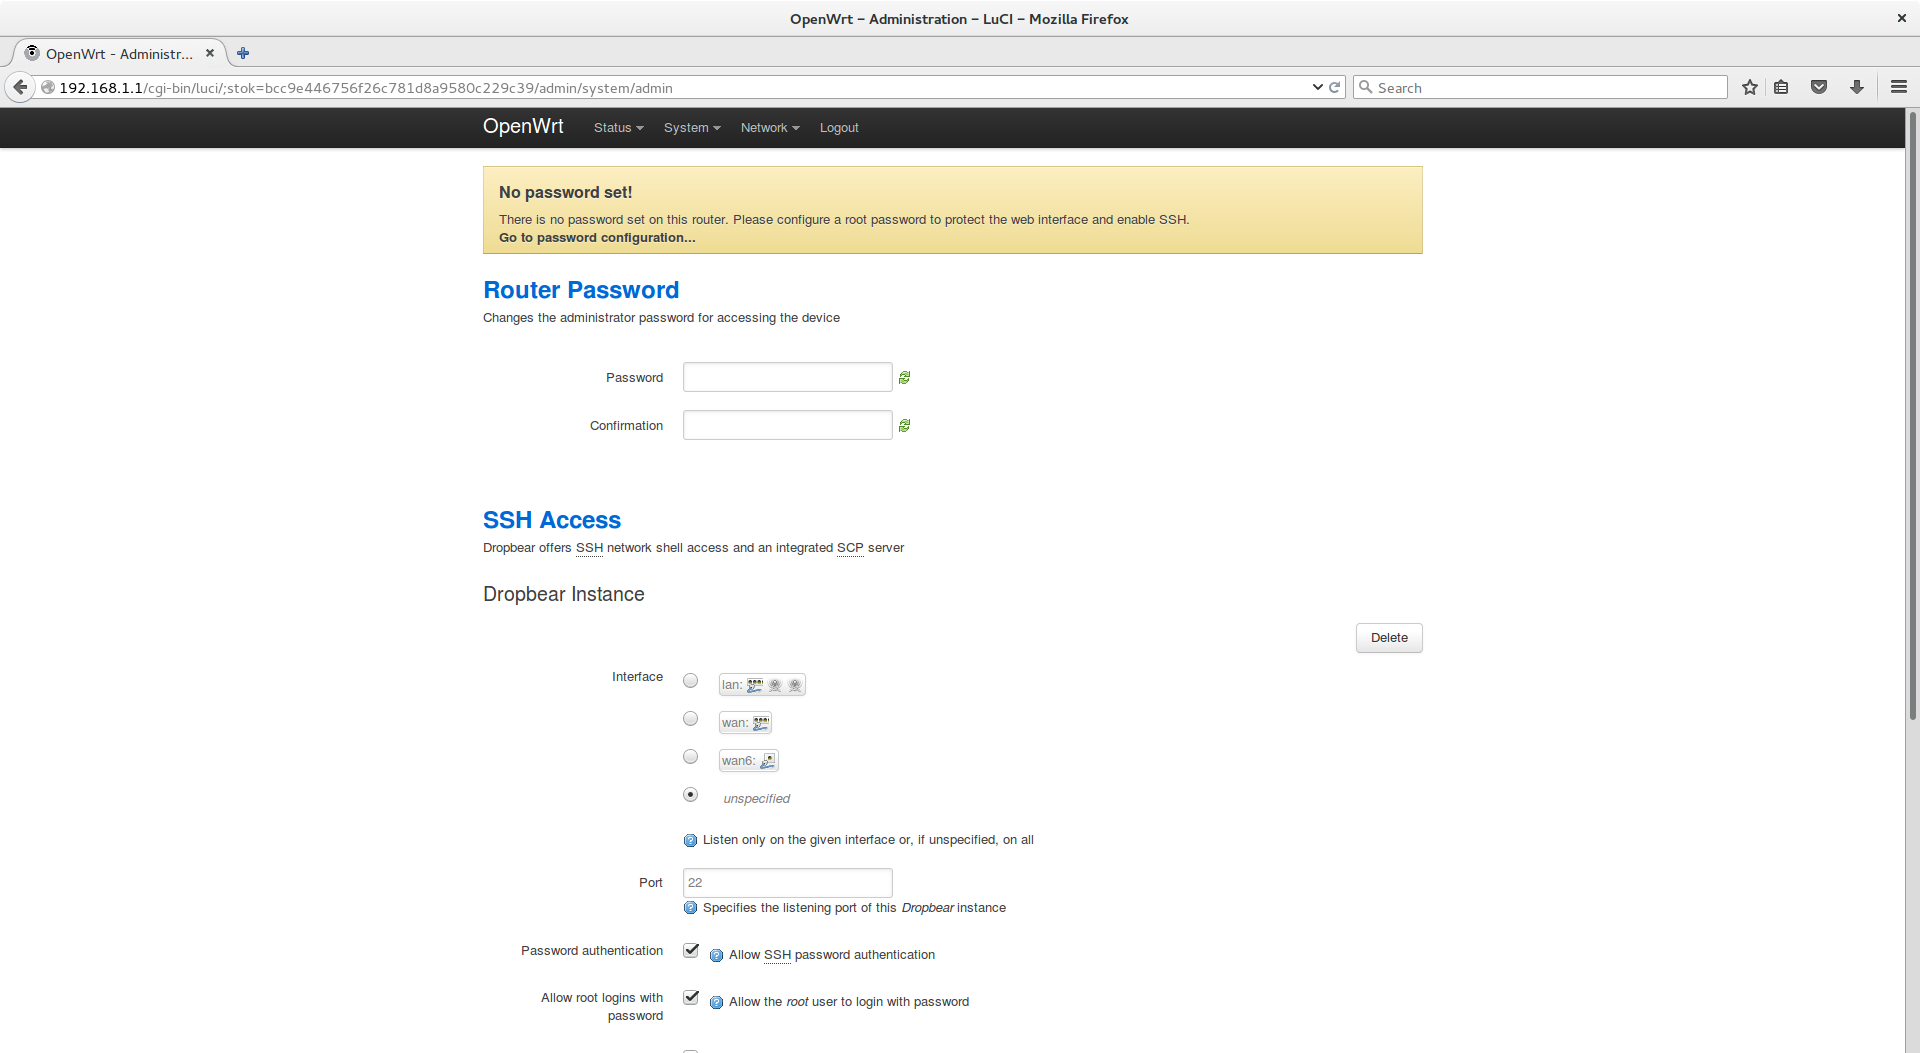
While not absolutely necessary, it’s useful to set up SSH access with Dropbear.Without getting into detail SSH, allows you to login via a command line.In some rare situations, you may need to login to the diagnose problems without visiting the web administration.In that case you would use SSH so it’s important to have that setup.Fortunately, the default settings allow that so we won’t have to change anything.
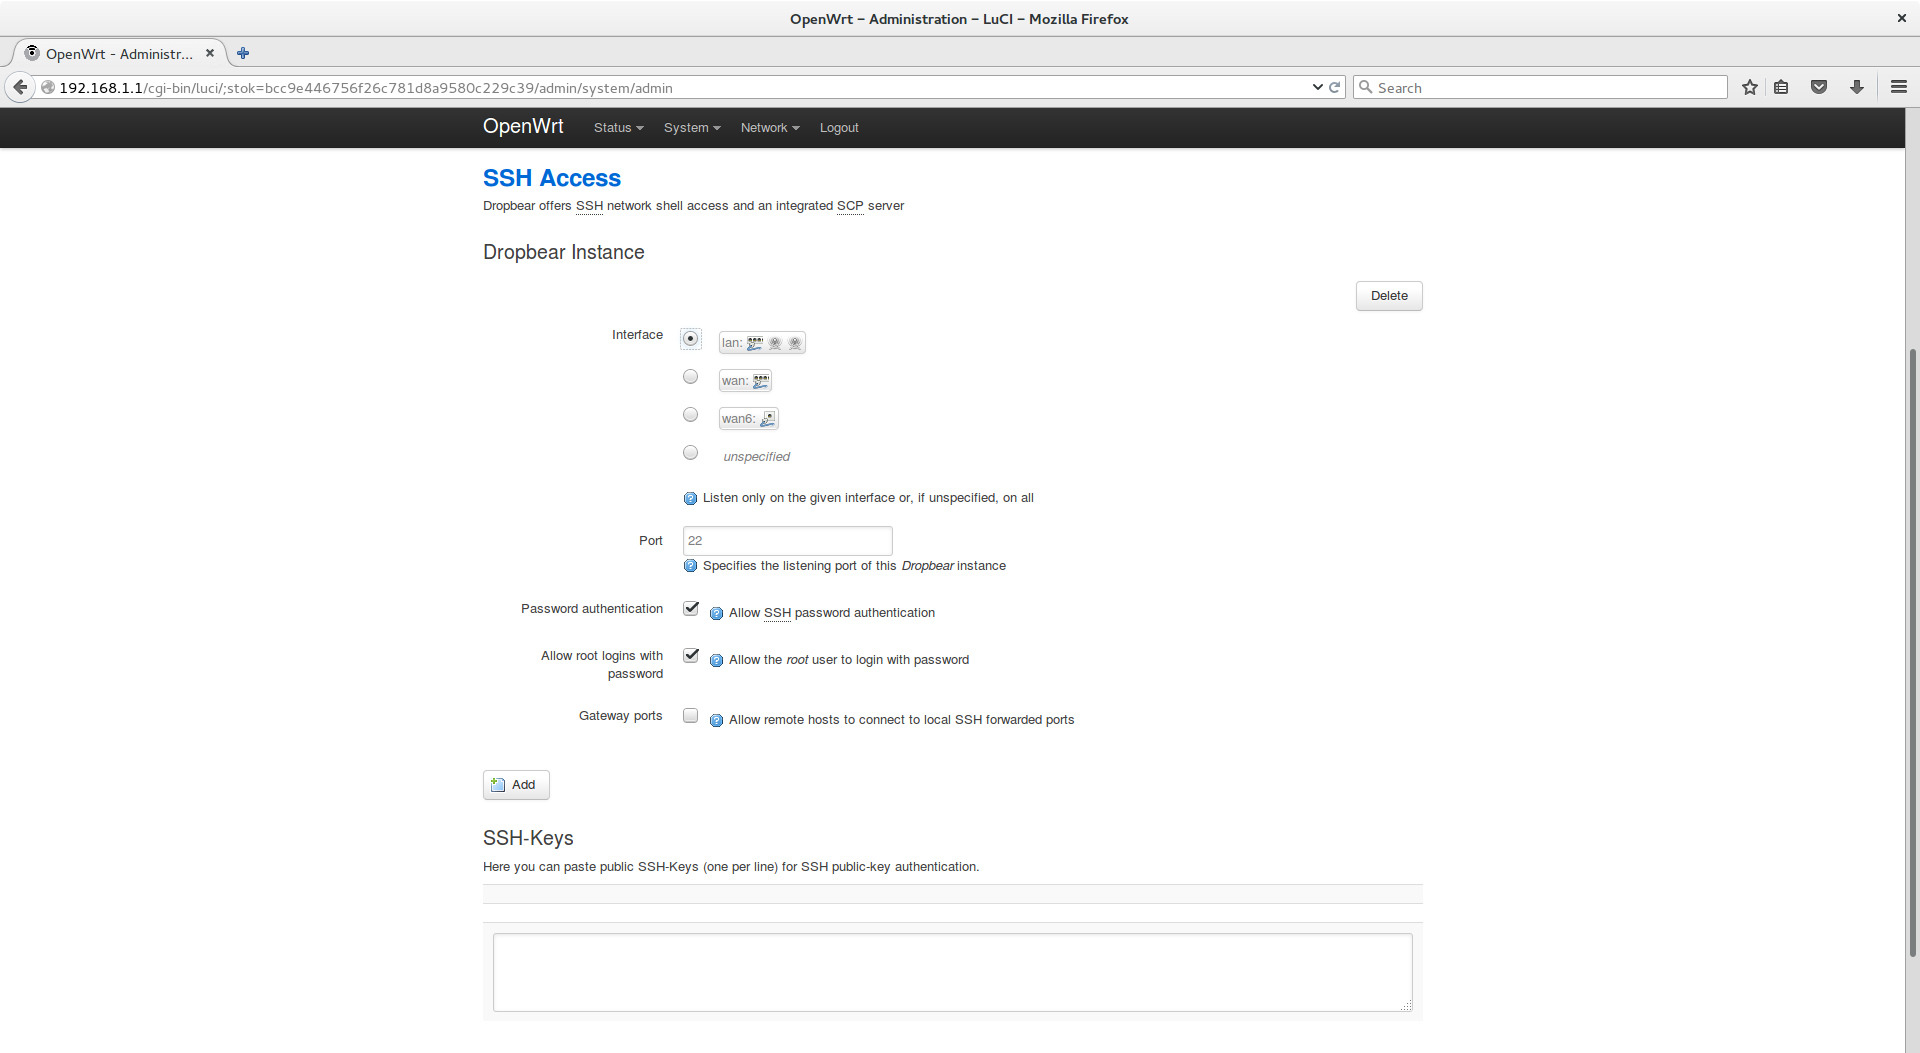
Lastly, we click “Save & Apply” to finalize our changes on this page.
Xem thêm: 2018 Là Năm Con Gì – Năm Và Mệnh Gì
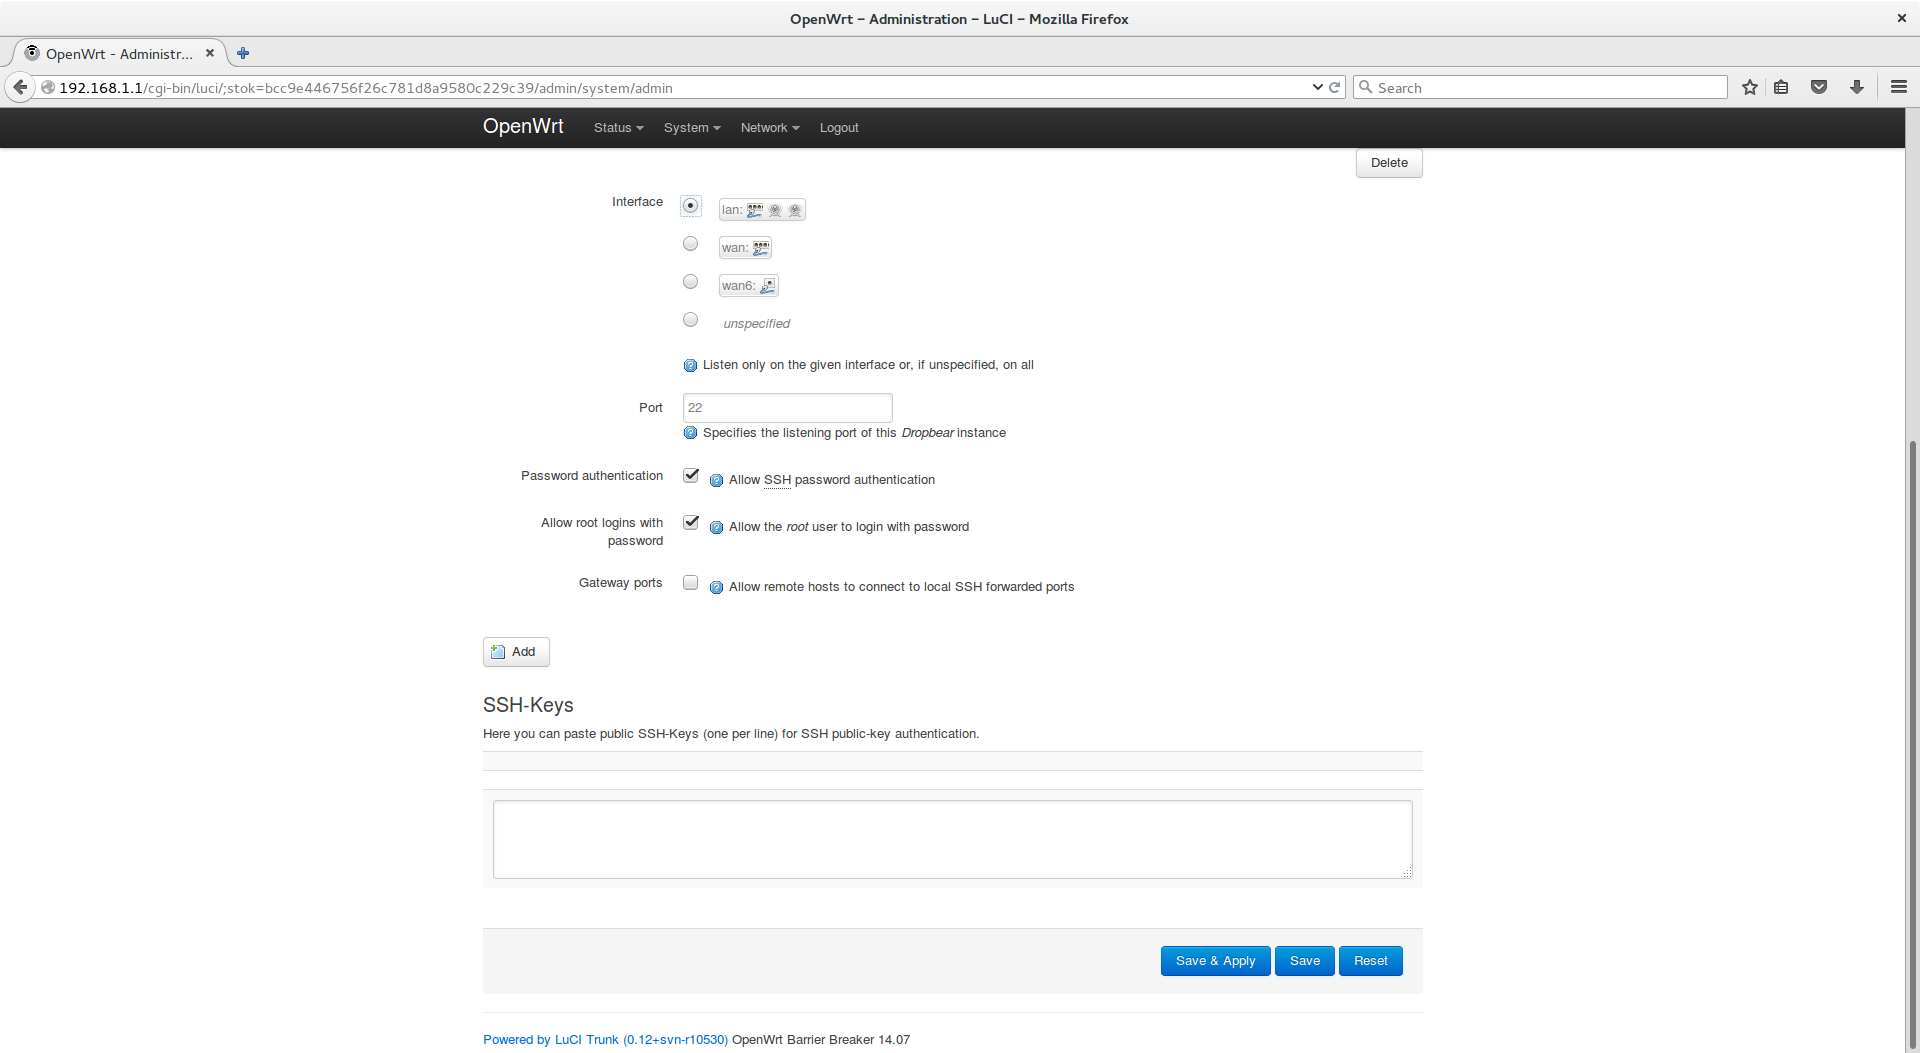
Now that we’ve set our root password, we only have to turn on and secure our Wi-Fi networks and we’ll be done.
Next step: Secure and Turn On Wi-Fi ->
If you don’t have/need Wi-Fi you can skip to the last step:
Last step: Internet connectivity, troubleshooting and what to do next ->
This website uses cookies. By using the website, you agree with storing cookies on your computer. Also you acknowledge that you have read and understand our Privacy Policy. If you do not agree leave the website.OKMore information about cookies
Chuyên mục: Hỏi Đáp